Grok Imagine Image 2.0 Preview
Grok Image 2.0 Prompting Guide
This Grok Imagine Image 2.0 Prompt Guide explains how to turn a short idea into a clear image request: define the task, structure the prompt, direct the shot, choose the frame, and protect factual details.
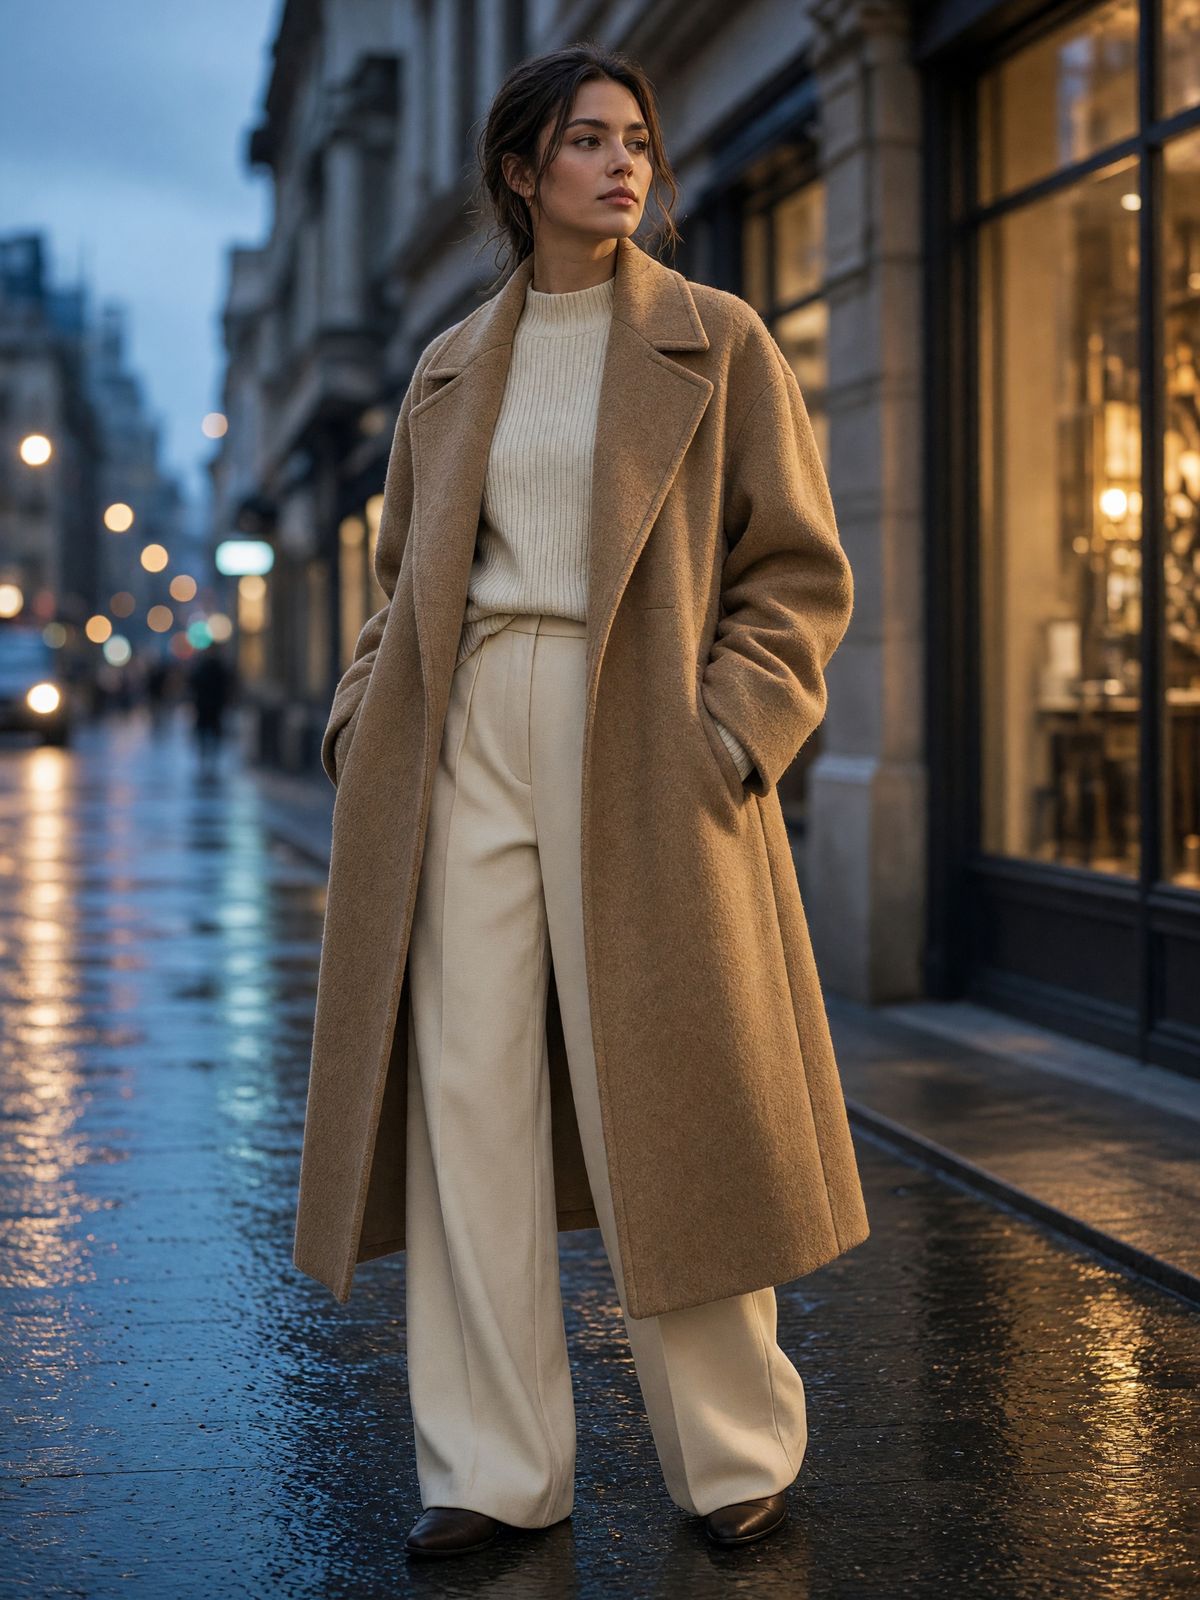
Introduction
Prompting is visual direction. A strong prompt tells Grok Image 2.0 what the image is, what must be visible, how it should be composed, and which details should not drift.
The request
Begin with the job the image must do. A product photo, a poster, a social ad, and a realistic scene all need different instructions, so the first sentence should make the output type obvious.
Pattern: image type -> subject -> setting -> composition -> lighting -> style -> required details.
A practical prompting workflow
A repeatable workflow is more useful than a long prompt template. Build the prompt in layers, review whether every layer has a job, then remove anything that does not change the final image. This makes Grok Imagine Image 2.0 easier to guide and easier to revise.
Start with the final asset
Before writing details, decide what the finished image is supposed to be. A hero banner needs space for copy, a product shot needs clean surfaces and accurate materials, and a poster needs hierarchy. When the first sentence names the asset type, Grok Image 2.0 has a clearer target and the rest of the prompt becomes easier to follow.
Describe visible structure before mood
Good prompts usually move from concrete to stylistic. Name the subject, setting, important objects, camera distance, and composition before asking for a mood. This prevents the model from turning a useful request into a vague atmosphere piece. Words like cinematic, premium, clean, or futuristic work best after the scene is already anchored.
Lock important details
If a detail matters, say so directly. For ecommerce images, protect product shape, label placement, and material finish. For editorial visuals, protect the headline zone and negative space. For realistic scenes, protect scale, lighting direction, hands, faces, reflections, and spatial relationships. Prompting is partly about describing what should not drift.
Structuring the prompt
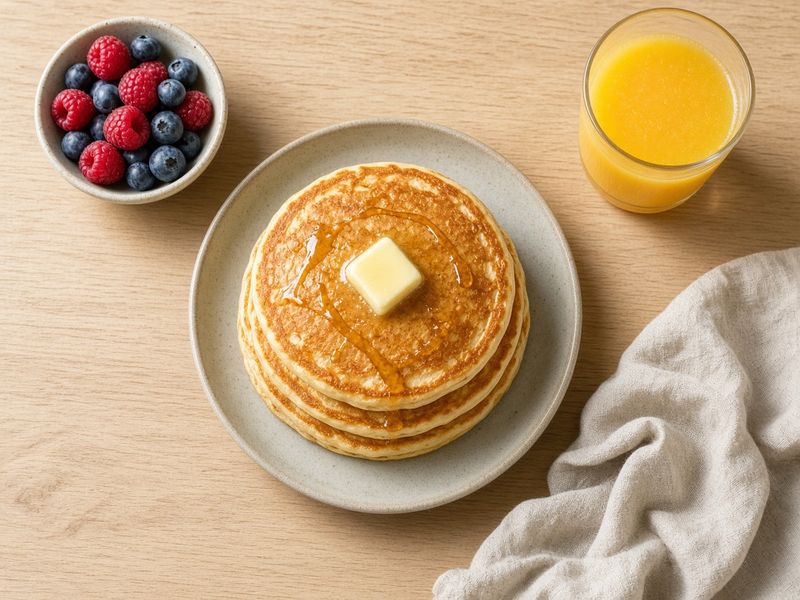
Start with the requested image, then add subject, setting, composition, lighting, style, and any details that must be correct.
Prompt
"A clean product photo of a ceramic espresso cup on a marble counter, morning window light, centered composition, shallow depth of field, realistic reflections, 3:2 frame."
Directing the shot
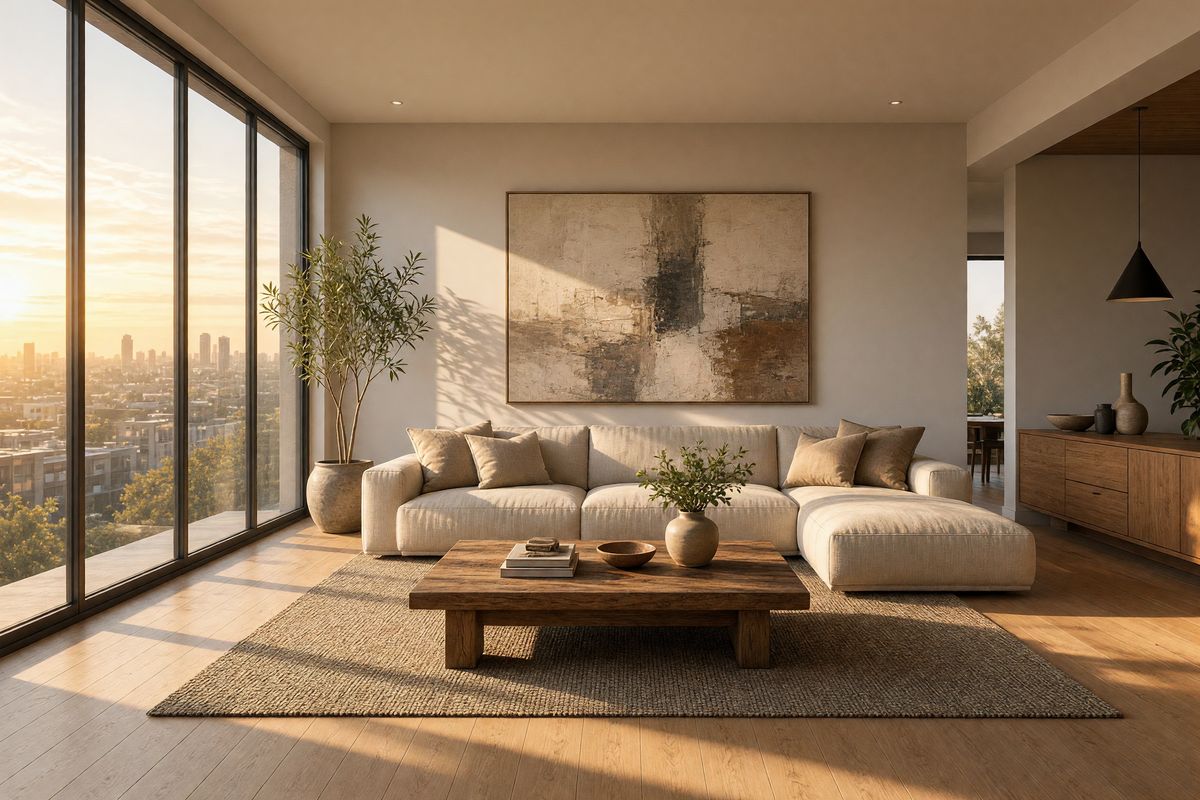
Use camera language when the result should feel photographic: distance, lens feel, angle, focal point, and depth.
Prompt
"Eye-level documentary photo of a cyclist crossing a wet city street, 50mm lens feel, natural overcast light, reflections on pavement, subject in the left third."
Leaning on factuality
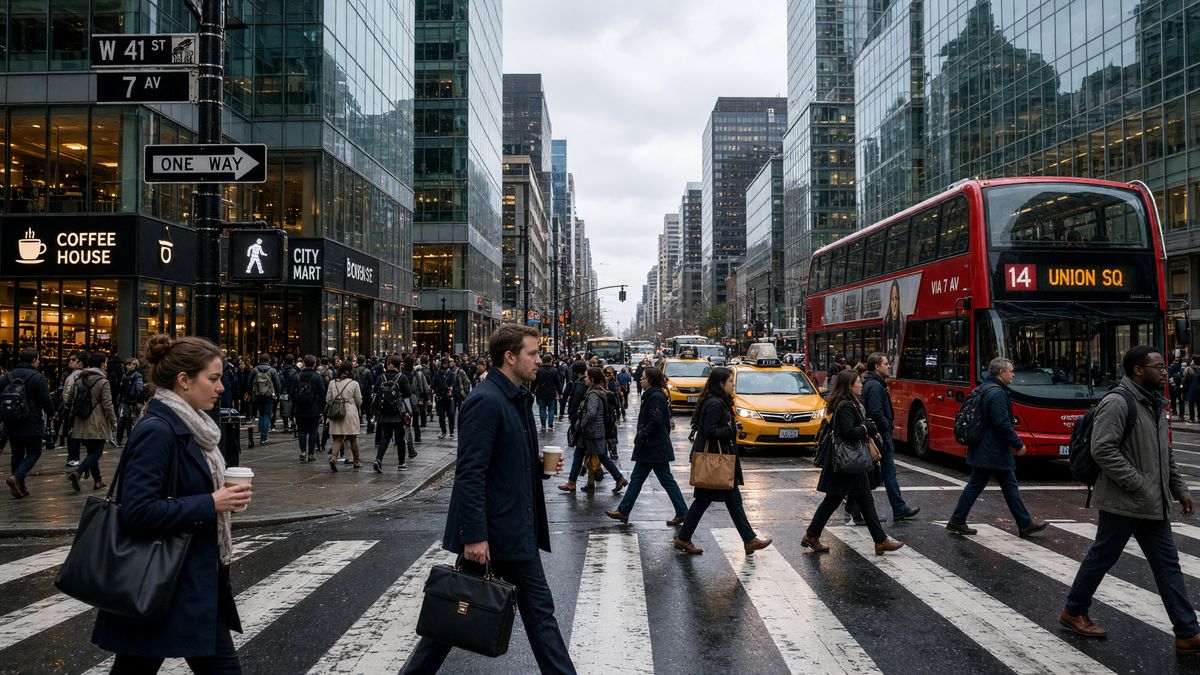
Name the specific objects, labels, proportions, and relationships that need to stay accurate instead of relying on mood alone.
Prompt
"A realistic desk setup with a laptop, black keyboard, ceramic mug, notebook, and pen. Keep objects separate, readable, correctly scaled, and naturally lit."
Sizes and aspect ratios
The frame determines how much room the subject, background, headline, and supporting details can occupy. Choose the ratio before writing placement instructions.
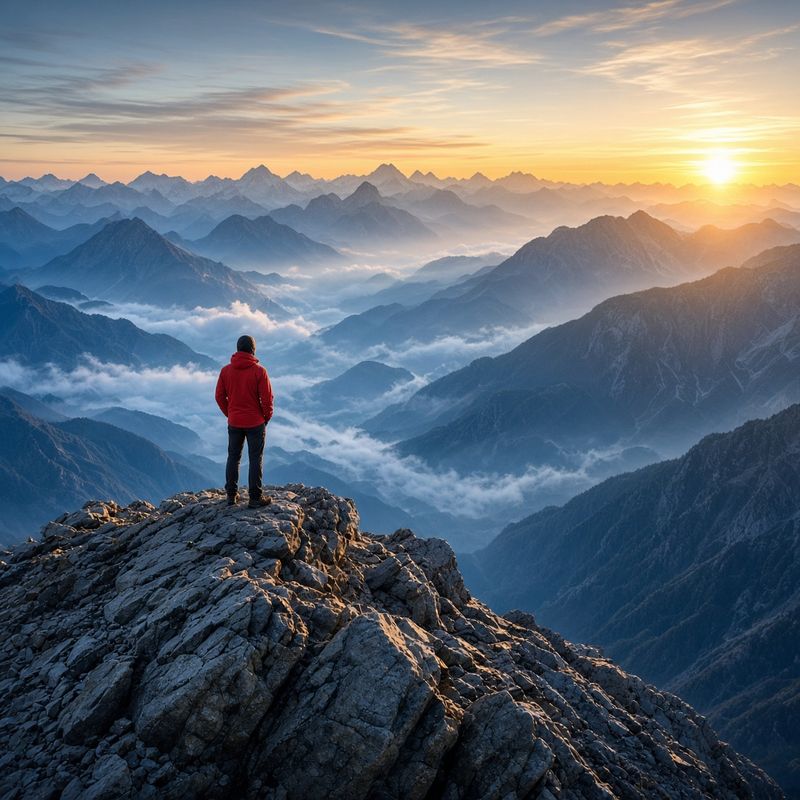
1:1
Square frames fit thumbnails, product shots, profile images, and compact concept art.
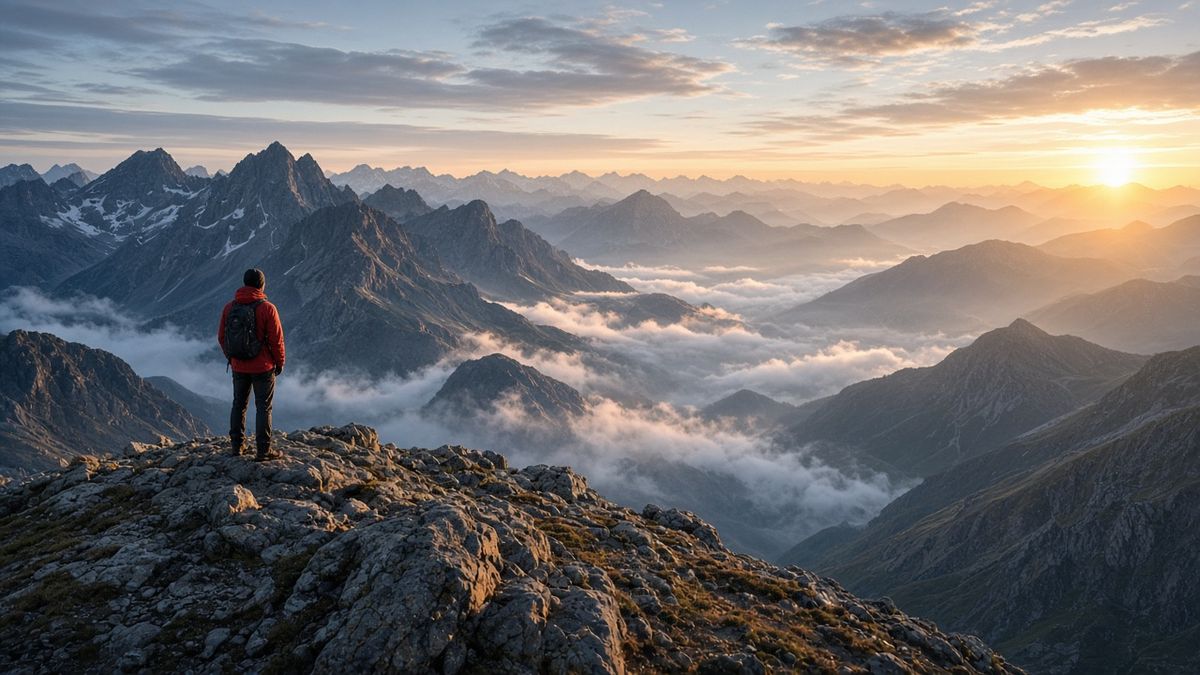
16:9
Wide frames work for hero images, cinematic scenes, banners, and video-cover layouts.
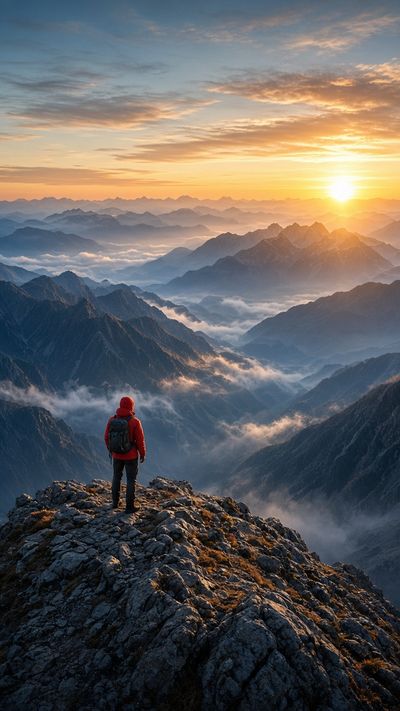
9:16
Tall frames suit mobile posts, story assets, portrait compositions, and ad creatives.
Where this guide helps most
Marketing and landing page visuals
Use Grok Image 2.0 to create hero images, product lifestyle scenes, social ads, and campaign concepts. In these prompts, mention the intended placement, such as website hero, square ad, vertical story, or email banner, because the layout should leave room for interface text and calls to action.
Product and ecommerce concepts
For product images, the prompt should be precise about material, surface, background, shadow, and camera distance. Ask for clean edges, realistic scale, and consistent reflections. If the image includes packaging or labels, keep the copy short and quote exact words.
Editorial and educational images
For explainers, infographics, covers, and thumbnails, clarity matters more than decoration. Write prompts that define the main idea, the visual metaphor, the number of elements, and the reading order. Avoid asking for too many labels in a single generation if the design needs to stay readable.
Common prompting mistakes
If an image looks polished but misses the brief, the prompt is often too abstract, too crowded, or missing a constraint. Use this section as a quick cleanup pass before regenerating.
- Starting with style before the subject, which can make the result attractive but unfocused.
- Using several competing concepts in one prompt instead of choosing one visual direction.
- Forgetting the final aspect ratio, then asking for layout details that do not fit the frame.
- Asking for complex text, logos, charts, and small labels all at once.
- Leaving out preserve instructions for brand-critical details such as colors, label placement, or product shape.
Prompting FAQ
How long should a Grok Image 2.0 prompt be?
Long enough to remove ambiguity, but not so long that the image has too many competing goals. A useful prompt often fits in one focused paragraph. If the scene is complex, separate the request into asset type, subject, setting, composition, style, and constraints instead of writing one loose sentence.
Should I use negative prompts?
Clear positive instructions are usually the better starting point. Instead of only saying no blur or no extra text, describe the desired result: sharp product edges, clean background, no additional labels, readable headline, and balanced spacing. Use removal language when a specific unwanted element is likely to appear.
How do I make results more consistent?
Keep the structure of the prompt stable and change one variable at a time. For example, keep the same subject, camera angle, and lighting while changing only the background or color palette. Consistency improves when the prompt protects the details that define the image.
Advanced prompt planning
Write for the image surface, not only the model
A strong prompt should match the surface where the image will be used. If the result is a landing page hero, the prompt should leave negative space for copy and avoid placing the subject across the whole frame. If the result is a product card, it should ask for a clean background, consistent shadows, and a subject that reads clearly at small size. If the result is a social post, the prompt should account for mobile cropping and visible contrast. Grok Image 2.0 can produce attractive images from short prompts, but production-ready images usually need prompt details that describe layout, spacing, and the final context.
Use constraints as creative direction
Constraints are not only limitations. They are how you tell the model what kind of image will be useful. A prompt that says make a modern poster is open to hundreds of interpretations. A prompt that says make a modern poster with one centered subject, a large headline zone at the top, two accent colors, no extra text, and clean margins gives the model a sharper design brief. Constraints are especially important when you want repeatable outputs. Keep the subject, camera, background, and aspect ratio stable, then change only the variable you are testing, such as color palette, lighting, or art direction.
Balance specificity and flexibility
A prompt can fail in two opposite ways. If it is too vague, the model chooses the important details for you. If it is too crowded, the model may satisfy one part of the prompt while ignoring another. The useful middle ground is to specify the details that matter for the task and leave secondary details open. For example, a realistic cafe scene may need exact framing, warm window light, two people at a table, and readable menu boards, but it probably does not need ten furniture details. Focus the prompt around the elements that would make the image pass or fail in review.
Revise prompts like a creative brief
When a generation is close, revise the prompt instead of starting over. Identify the gap first: wrong subject, weak composition, poor lighting, extra text, inaccurate object, or unsuitable crop. Then add one correction. If the image is too busy, ask for a simpler background and fewer props. If the subject is too small, ask for a closer crop and stronger focal point. If the style is wrong, replace broad style words with concrete references to lighting, surface, camera distance, or design format. This keeps prompt iteration controlled and prevents accidental drift.
Protect factual and brand-sensitive details
For SEO pages, SaaS visuals, ecommerce assets, and product concepts, accuracy often matters as much as beauty. A prompt should protect spelling, proportions, labels, buttons, materials, and interface zones when those details affect trust. If you need a realistic object, describe its physical structure and scale. If you need a branded-looking asset without using a real brand, describe the design language without asking for protected logos. If you need readable copy, quote the exact words and keep them short. This makes the output easier to review and safer to use in public content.
Build prompt libraries for repeat work
Once you find a structure that works, save it as a reusable prompt pattern. Teams can create patterns for product photos, hero images, thumbnails, explainer graphics, editorial covers, and social ads. The reusable part should include the order of information, aspect ratio, lighting approach, layout rules, and quality constraints. The variable part should be the subject, campaign theme, product type, and color palette. A prompt library makes Grok Imagine Image 2.0 more predictable because every new image starts from a tested structure instead of a fresh guess.
Production prompt checklist
Before publishing a Grok Image 2.0 prompt guide or handing prompts to a team, review them as reusable instructions. A good production prompt is not only descriptive; it is clear enough for another person to understand, edit, and reuse without guessing what each phrase controls.
- Check whether the first sentence clearly names the final asset. The user, search engine, and model should all understand whether the page is discussing a poster, product shot, hero image, UI mockup, social ad, infographic, or realistic scene.
- Check whether the prompt includes visual hierarchy. If the image needs a focal point, headline zone, product zone, or background area, those areas should be described before color and mood.
- Check whether the prompt is easy to revise. A production prompt should make it obvious which phrase controls subject, camera, lighting, style, aspect ratio, and constraints. If everything is blended into one vague paragraph, iteration becomes slower.
- Check whether the prompt protects facts. Names, labels, object counts, product proportions, interface elements, and important spatial relationships should be explicit when accuracy matters.
- Check whether the output will work at the final size. A desktop hero, mobile story, thumbnail, and ecommerce card have different readability needs, so the prompt should match the display environment.
Final prompt review
The final review is simple: read the prompt as if it were a brief for a human designer or photographer. If a person could not tell what the subject is, where the subject belongs, how the scene is framed, what style is required, and which details are protected, the model will probably need to guess as well. A useful Grok Image 2.0 prompt should make the image goal clear before it becomes decorative.
For ongoing work, keep a record of prompts that produce strong outputs. Note the aspect ratio, camera language, lighting terms, and preserve phrases that worked. Over time, this turns prompting from trial and error into a repeatable creative workflow.
Tips
- Write the final asset type first: photo, poster, UI mockup, product shot, infographic, or illustration.
- Add subject, setting, camera, lighting, style, and output constraints in that order.
- Use exact nouns and visible details instead of broad mood words alone.
- Pick the aspect ratio before writing layout instructions.
- For text-heavy visuals, quote the exact words and say where they belong.
Related guides
Continue with Grok Image 2.0
These pages are connected as one Grok Image 2.0 learning cluster. Use the main page for the core model overview, then move between the prompt, editing, and text rendering guides for deeper workflows.
Grok Image Prompts
Browse visual inspiration, copy a prompt, and customize portraits, product shots, anime, and illustrations.
Grok Image 2.0
Return to the main Grok Image 2.0 page for the full image model overview, features, examples, and creation workflow.
Editing images with Grok Image 2.0
Use reference images for restyling, object removal, background replacement, relighting, and controlled visual edits.
Rendering accurate text with Grok Image 2.0
Prompt exact wording, typography, hierarchy, and layout for posters, labels, UI mockups, and readable text images.