1. Three Paths to Generate a Video
Grok Imagine offers three distinct ways to bring your ideas to life. Look for the "Imagine" tab at the top of the Grok interface to get started.
Text-to-Video
Type a description and generate a video clip directly, without starting from an image. Write like you are describing the scene to a friend: what is happening, what it looks like, and how the camera moves.
Best for: When you have a clear scene in mind and want to skip the image step entirely.
Image-to-Video
Start from any image and animate it into a short clip with synced audio. You can use an image you generated in Imagine, or upload one from your camera roll.
Best for: Predictable outputs. Since Grok already has the visual context, keep your prompt short and focus purely on motion and camera movement.
Reference-to-Video
Upload up to 7 reference images to serve as the visual foundation or style reference. Grok blends your references with your text prompt to match a specific brand style, color palette, or visual tone without starting from scratch.
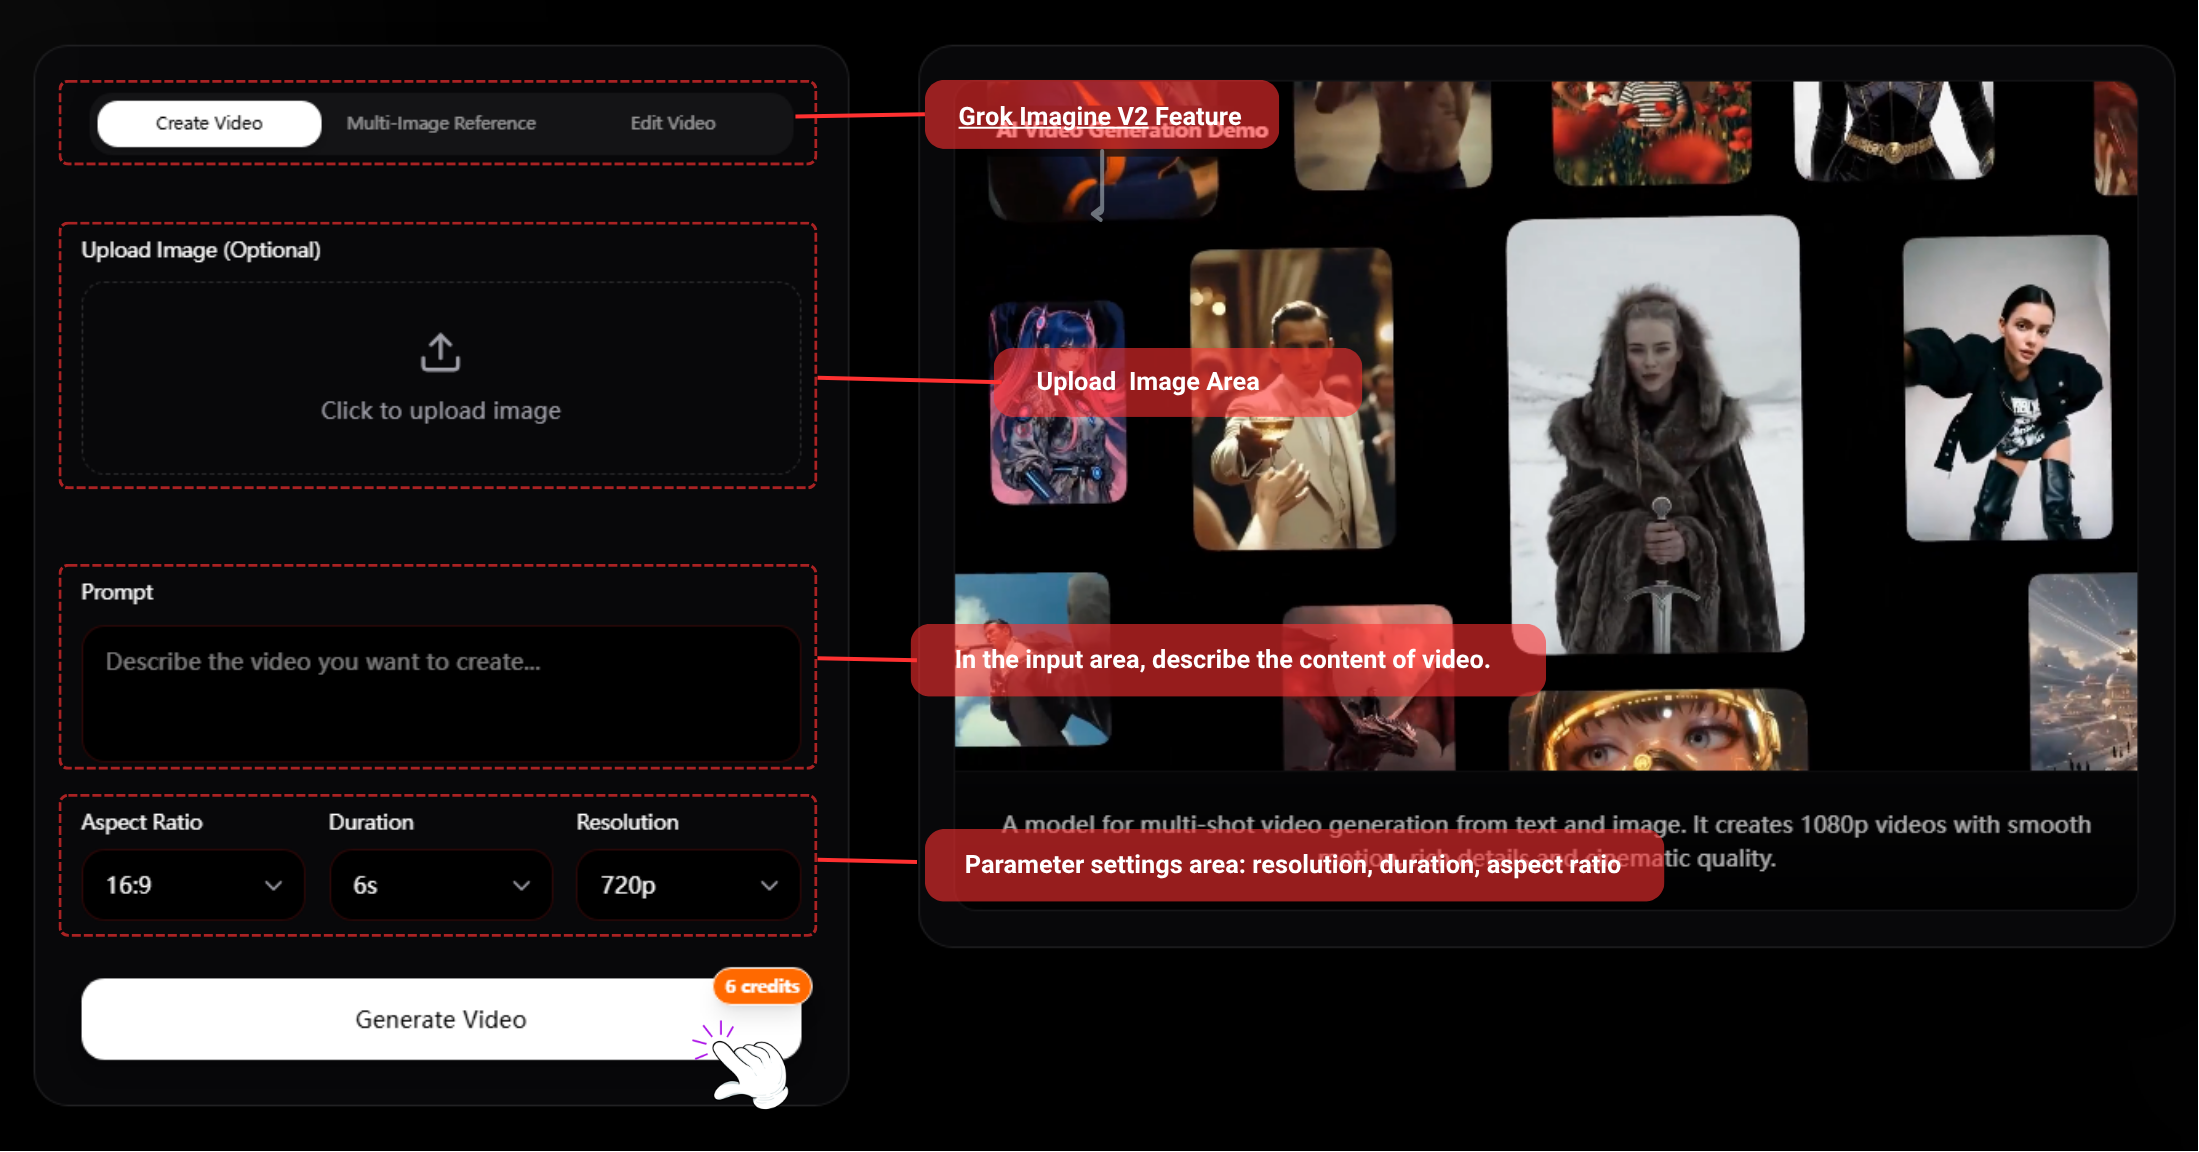
2. Choosing Your Settings
Before you hit generate, customize your output in the settings menu:
- [Aspect Ratio]: Grok Imagine supports five formats: 16:9, 9:16, 3:2, 2:3, and 1:1.
- [Quality]: Choose your preferred output resolution. Currently supported: 480p and 720p.
- [Duration]: Select how long you want your initial clip to be.
Hit Generate and your clip will be ready in seconds to download, save to your library, or upload directly to X.
3. Extending Your Videos
A single generation gives you a short clip, but Grok Imagine's Extend Video feature lets you go further. Select any frame of a generated clip and use it as the starting point for an extension. The model carries forward the motion, character positioning, lighting, and audio from that exact frame.
💡 Pro Tip for Extending: Write a continuation prompt that describes what happens next in the scene, not a full re-description. The model already knows what the scene looks like.
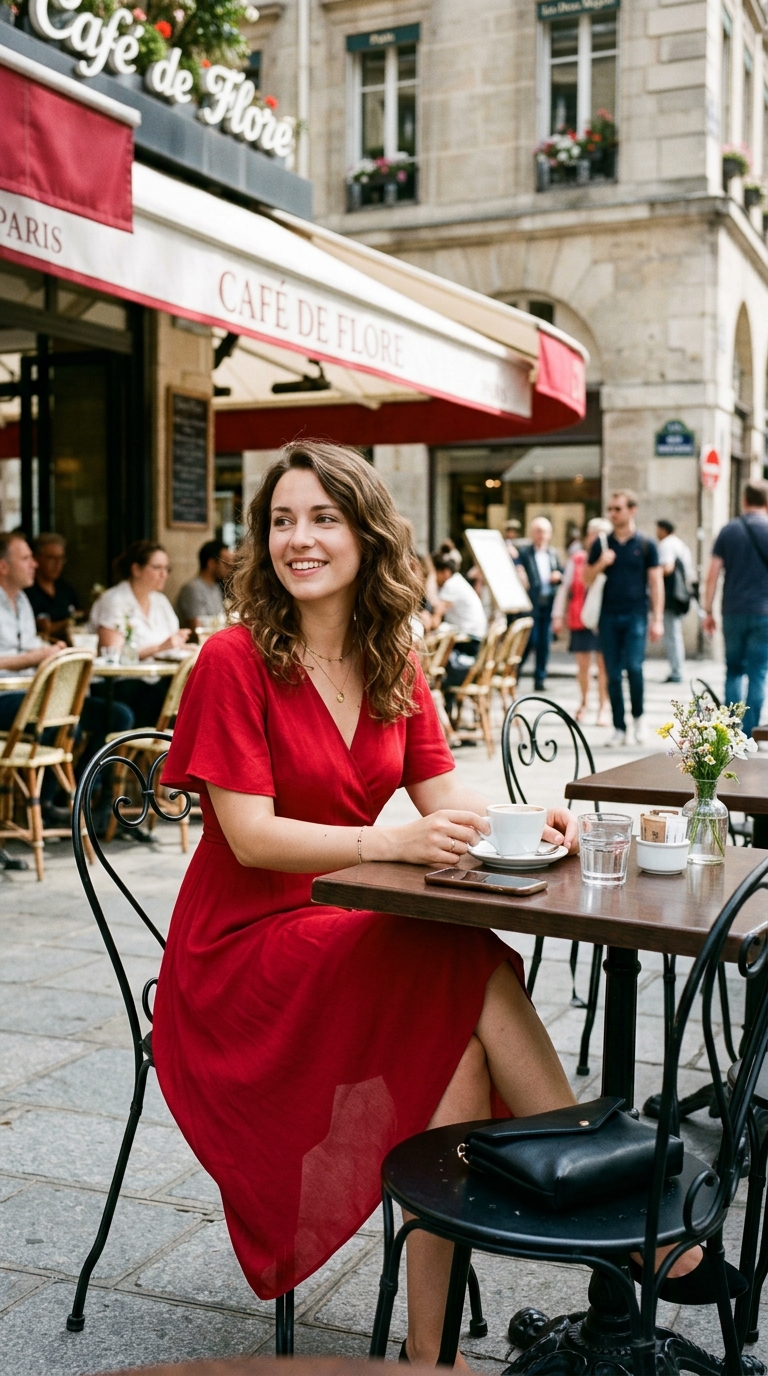
Instead of
"A woman in a red dress sitting at a cafe..."
Try
"She stands up slowly, grabs her coat, and walks toward the door. The camera follows."
4. Writing Prompts That Produce Great Videos
Specific prompts give Grok clear anchors. A reliable prompt structure to follow is:
Vague
a city at night
Specific
futuristic Tokyo street at 2am, rain-slicked asphalt, neon reflections, low-angle wide shot, cinematic fog, Blade Runner mood
Tips for Better Results
- Keep compositions focused: A clear subject against a defined background beats a crowded scene.
- Go wider for people: Wider shots and slower movements produce the cleanest results for humans.
- Name your lighting & camera: "Golden hour backlight" and "Slow dolly in" translate directly into how Grok animates the scene.
- Run the same prompt multiple times: Try again before rewriting.
- Use Featured Templates: Browse pre-built styles at the top of the Imagine tab for quick, stylized content.
Let Grok Write Your Prompts
Not sure how to structure your text? Open a regular Grok chat, describe your idea in plain language, and ask it to generate an Imagine prompt. You can also use Grok Projects to build a dedicated workspace for recurring storyboards, keeping all your creative context in one place.
6. Where Imagine Fits in Your Workflow
Reactive Content
Turn a trending idea into a shareable clip in under a minute, fast enough to post while the moment is still relevant.
Explainer Clips
Add motion to a point you are making in a thread. A 10-second sequence communicates what a static image cannot.
Product Content
Use Image-to-Video to turn product photos into polished motion content, and Extend Video for multi-angle walkthroughs.
Creative Exploration
Generate a batch of visual directions quickly to test an idea's energy before committing to full production.
Ready to Create?
Join 50,000+ creators pushing the boundaries of AI-generated content. Start your first 4K generation today.