Grok Imagine Image 2.0 Preview
Editing images with Grok Image 2.0
Grok Imagine Image 2.0 can edit an existing image from a reference plus a natural-language instruction. This guide follows the editing workflow: define the request, control the prompt, then apply common operations such as restyling, removing elements, replacing backgrounds, and relighting a scene.
Introduction
Image editing works best when the model understands both sides of the task: the source image that must be respected, and the exact change you want. A good prompt is usually short, specific, and explicit about the parts of the image that should not move.
The request
Treat each edit as a small request made from three ingredients:
Reference image
Upload the image that should be edited. Grok Image 2.0 uses it as the source for composition, subject identity, and visual detail.
Prompt
Write the prompt as an edit instruction. Say what to change, where to change it, and what should stay untouched.
Output settings
Choose the size and aspect ratio you want for the final result. Preserve the source ratio when the framing should remain stable.
A practical editing workflow
Think of Grok Image 2.0 editing as controlled revision. The source image gives the model visual facts, and the prompt tells it which facts to change. The best results come from separating those two jobs clearly.
Choose a clean source
The reference image carries the composition, subject identity, lighting, and many small visual cues. Start with an image that is sharp, uncropped in important areas, and close to the final use case. A blurry product, hidden hand, compressed logo, or awkward crop gives Grok Image 2.0 less reliable information to preserve.
Ask for one change first
Editing works best when each request has a clear target. Remove the wire, replace the background, recolor the shoe, relight the room, or restyle the photo. If you ask for five edits at once, the model may reinterpret the whole image instead of making a precise change.
Add a preserve clause
A preserve clause tells the model what must remain stable. Mention pose, face, product geometry, logo placement, camera angle, framing, material, shadows, and color when those details matter. This is the difference between an edit and a new image inspired by the source.
How the prompt drives an edit
The prompt should describe the edit rather than re-describing the entire picture. Put the action first, identify the target, then add a preserve clause so Grok Image 2.0 knows which details are locked.
Pattern: change this specific area -> make it look like this -> keep these details unchanged.
Editing operations
Restyling the whole look
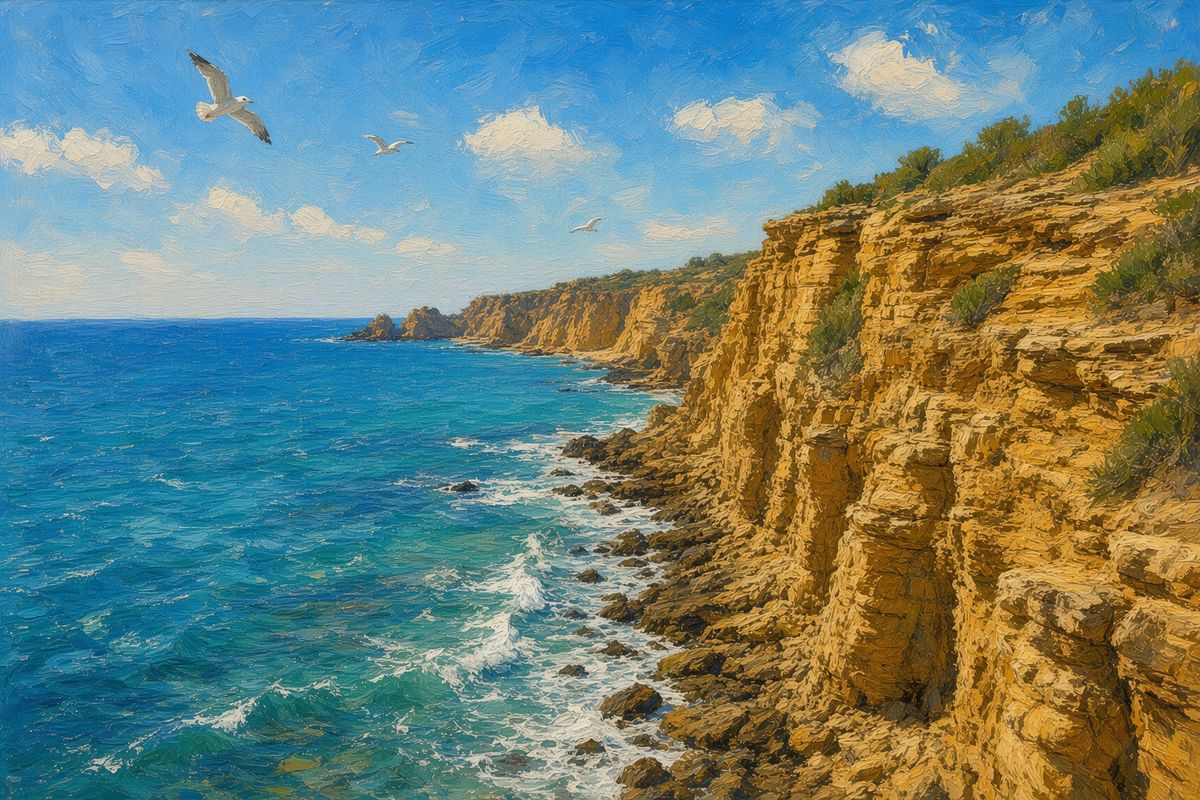
A restyle changes every pixel's treatment while holding the composition and subject matter. Use it when you want the same image translated into a new medium, such as a photo into an illustration, a plate into a painting, or a scene into a more tactile finish.

Prompt
"Turn this coastal photograph into an oil painting. Keep the cliff, ocean, birds, horizon, and overall framing in the same places."
Removing an element
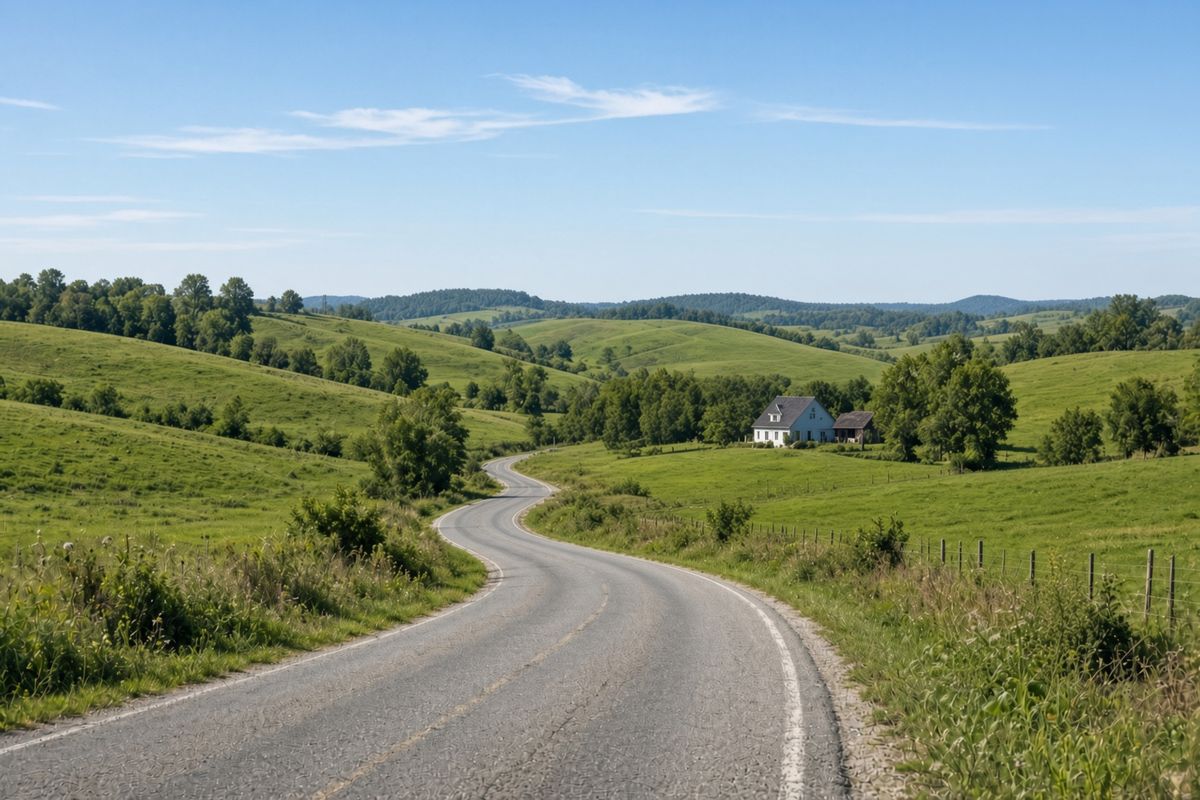
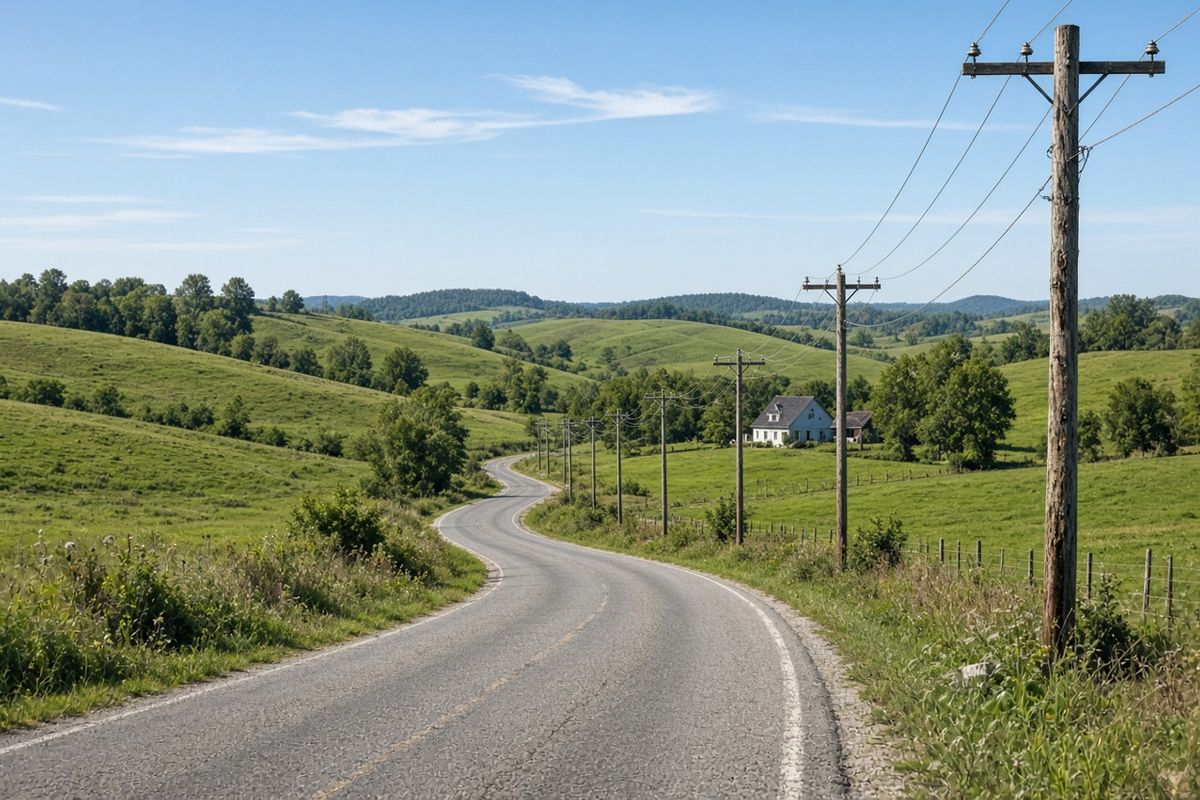
Point at one unwanted thing and ask Grok Image 2.0 to remove it. The model should fill the gapwith the scene that naturally belongs behind it, which is useful for cleanup edits like wires, signs, or passers-by.
Prompt
"Remove the power lines and poles from the road scene. Fill the area with matching sky, hills, grass, and roadside detail."
Replacing the background
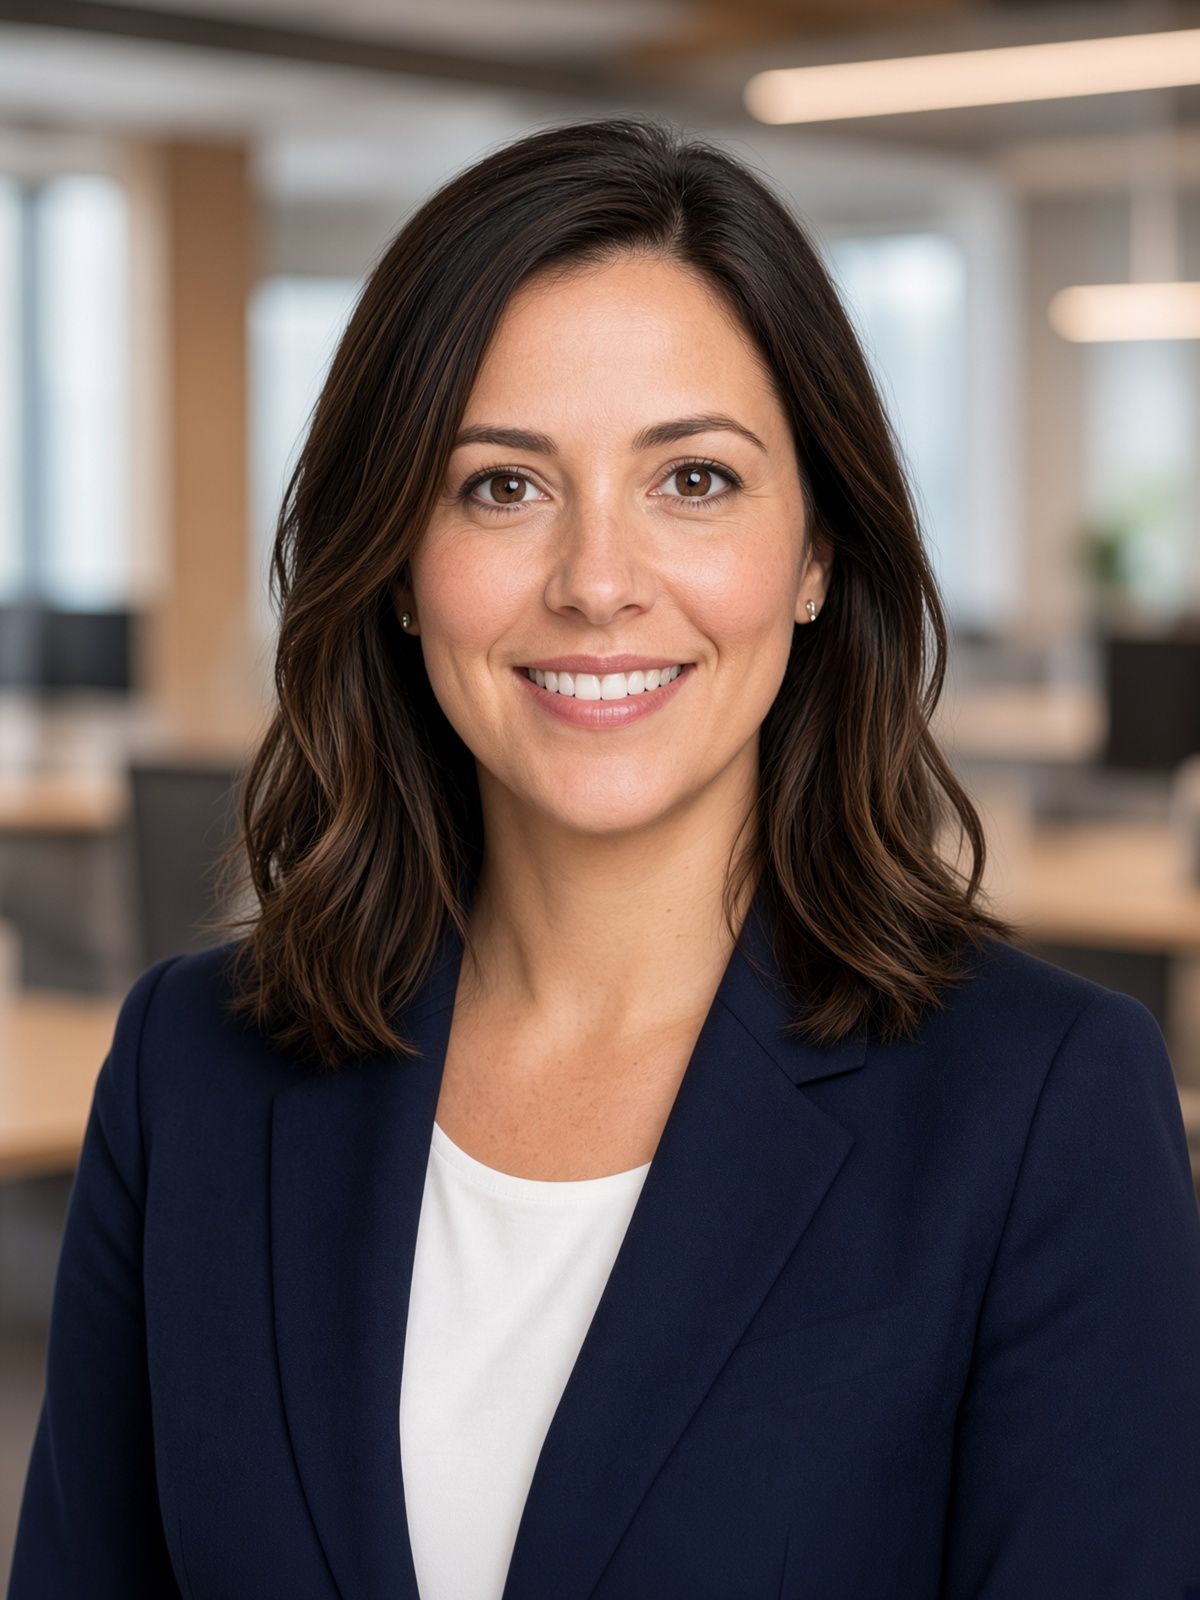
A background swap keeps the person or object intact while rewriting the space around it. The best prompt names what should stay fixed, then describes the new environment, light direction, and natural edge blending.
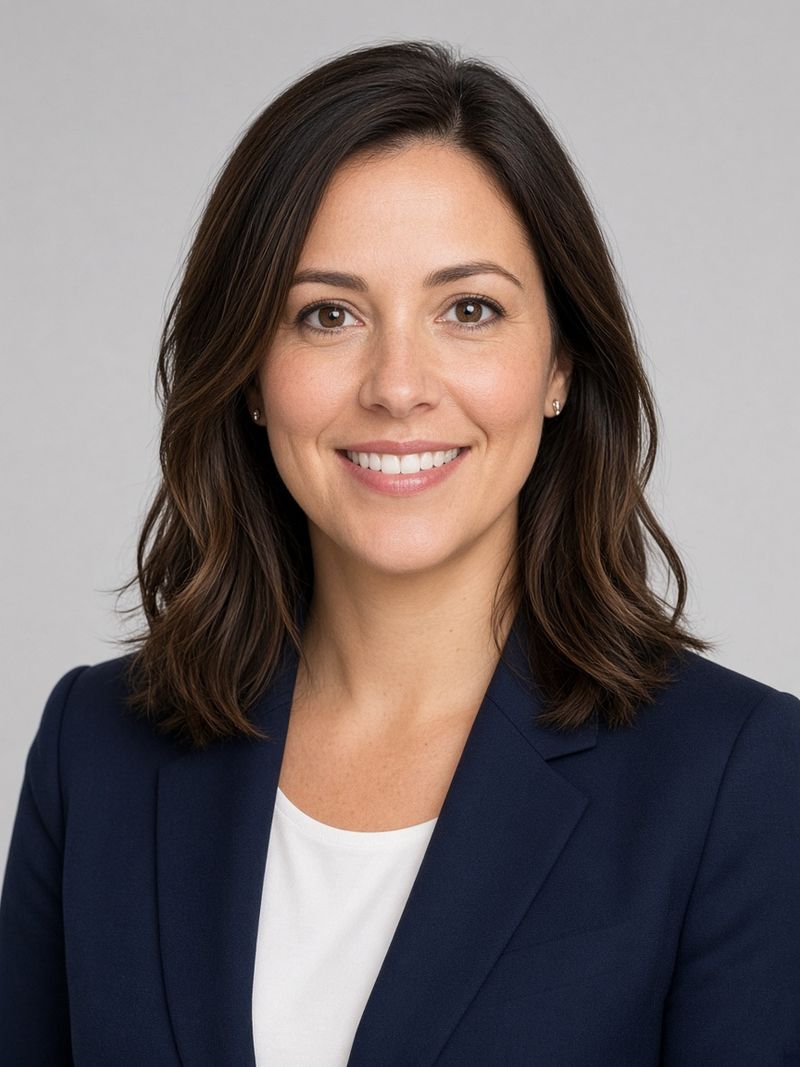
Prompt
"Keep the person, pose, face, clothing, and lighting. Replace the background with a modern office that blends naturally around the subject."
Relighting the scene
Relighting changes the mood without redrawing the composition. Ask for the new light source clearly and tell the model to preserve geometry, camera angle, materials, and the original layout.
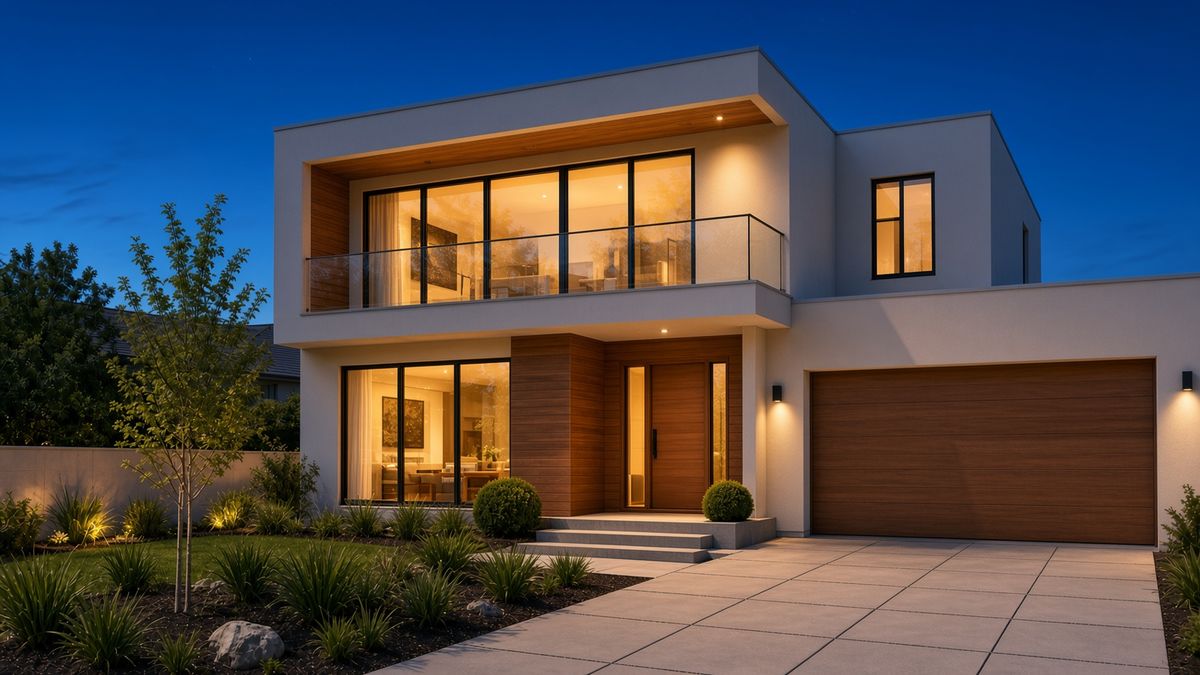
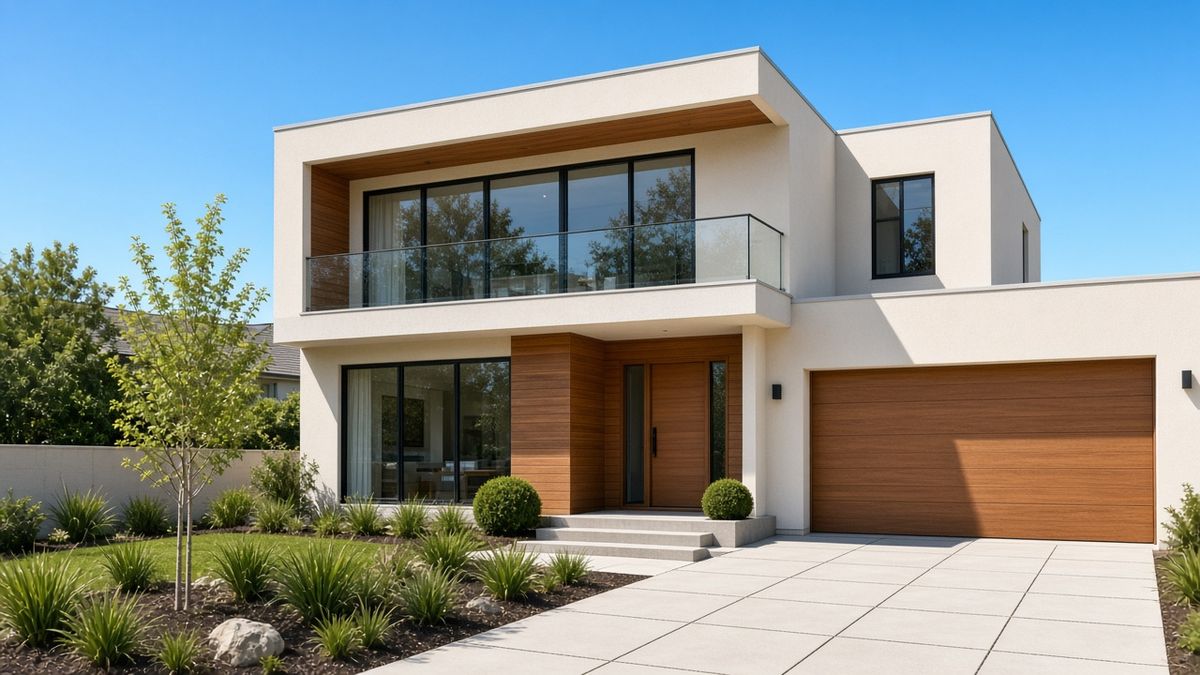
Prompt
"Relight this house as a warm evening scene. Keep the architecture, camera angle, yard, and composition unchanged."
Use cases for Grok Image 2.0 editing
Creative direction
Use edits to test alternate styles without reshooting the same concept. A team can compare oil paint, editorial photo, studio render, vintage print, or clean ecommerce lighting while preserving the core subject and composition.
Campaign cleanup
Remove distracting objects, wires, passers-by, signage, reflections, or background clutter from otherwise useful images. The prompt should name the item to remove and describe what naturally continues behind it.
Product iteration
Change colorways, backgrounds, lighting, and surfaces while keeping the product shape and material behavior intact. This is useful for fast concept exploration before a final photoshoot or product render.
How to fix weak edits
When an edit is close but not usable, change the instruction before changing the source. Most issues come from an unclear target, missing preserve language, or a request that asks the model to invent too much.
The edit changes too much
Shorten the prompt and strengthen the preserve clause. Ask for only one operation and explicitly keep subject identity, camera angle, crop, lighting, and background elements that should remain.
The removed area looks strange
Describe the replacement texture or scene continuity. For example, ask the model to continue the blue sky, painted wall, grass, fabric grain, table surface, or road line behind the removed object.
The style is too heavy
Use softer style language. Instead of completely transform this into a painting, ask for subtle painterly texture while preserving the original composition, subject proportions, and recognizable details.
Advanced editing guidance
Plan the edit before writing the prompt
Before using Grok Image 2.0 for editing, decide whether the request is a local edit or a global transformation. Local edits affect one region, such as removing a wire, changing a product color, or replacing a background. Global transformations affect the full image, such as restyling a photograph as an oil painting or changing the overall lighting mood. This distinction matters because the prompt should be written differently. Local edits need a precise target and a strong preserve clause. Global edits need a style direction while still protecting composition, subject identity, and framing.
Use reference images as visual contracts
The reference image is not just inspiration. It is the visual contract for what should remain stable. If the source has the right pose, product angle, face, structure, or composition, say that those details should stay unchanged. When a prompt does not include this instruction, the model may create a new image that resembles the source but changes details that matter. For portraits, protect facial identity, expression, hair, clothing, and pose. For products, protect proportions, material, edges, logos, labels, and shadow direction. For interiors or landscapes, protect perspective, horizon, and object placement.
Write removal prompts with background continuity
Object removal works best when the prompt describes what should replace the removed area. Instead of only saying remove the object, add the continuation that belongs behind it. Remove the sign and continue the brick wall. Remove the person and fill the area with sidewalk and storefront reflections. Remove power lines and continue the sky and rolling hills. This gives Grok Image 2.0 a better target for the filled region and reduces strange patches, repeated textures, or mismatched lighting.
Write background swaps with lighting logic
A background replacement should not feel pasted on. The prompt should describe the new setting and ask for matched lighting, natural edges, and consistent depth of field. If the subject was photographed in soft studio light, a harsh noon desert background may look unnatural unless the model also adjusts shadows and color temperature. When in doubt, choose a background with similar light direction and camera height. For business portraits, ask for a modern office, soft depth of field, clean background, and realistic edge blending while preserving the person exactly.
Treat product edits as precision tasks
Product editing has less tolerance for drift than creative styling. A small change to shape, label placement, stitching, or material finish can make the result unusable. When recoloring products, ask for the color change and then list the preserved details. Keep the sole, logo, panel seams, label, stitching, reflections, and camera angle unchanged. When changing backgrounds, keep the object scale and shadow grounded. When relighting, keep materials realistic so metal, glass, fabric, and plastic still behave like the original product.
Review edits with a production checklist
After generation, inspect the image like an editor. Check whether the requested change happened, whether the source identity stayed intact, whether edges look natural, whether shadows still make sense, and whether any unwanted artifacts appeared. Look at hands, faces, logos, labels, repeated textures, reflected surfaces, and cropped edges. If the image is for a public page, also check whether the alt text describes the edited scene accurately. A good edit should feel like the source image was intentionally revised, not like a new image was generated from memory.
Production editing checklist
Editing pages need more than attractive examples. For a page to be useful, readers should understand how to review the result, what can go wrong, and when a generated edit is ready for a real workflow. Use this checklist before placing Grok Image 2.0 edited images into public content or client-facing material.
- Compare the edited image against the source at full size. Confirm the requested change happened without unnecessary changes to face identity, product shape, camera angle, crop, lighting, and important background structure.
- Inspect edges around the edited area. Background swaps, object removals, and recolors often fail near hair, glass, hands, product seams, shadows, reflections, and textured surfaces.
- Check whether the fill area follows the original scene. Roads should continue naturally, walls should keep the same texture, sky gradients should remain smooth, and shadows should match the visible light direction.
- Review brand-sensitive details. Logos, labels, colors, packaging text, stitching, button placement, and product geometry should not be altered unless the prompt specifically asked for that change.
- Decide whether the output is a concept image or a publishable asset. Creative mockups can tolerate more variation, but ecommerce, legal, medical, financial, or brand pages need manual review before launch.
Final editing review
A finished edit should look intentional. The viewer should not notice where the model changed the image, where an object was removed, where a background was replaced, or where lighting was adjusted. If the edit draws attention to itself, revise the prompt toward continuity: matching texture, matching shadows, matching camera angle, and preserving the visual facts already present in the source image.
For commercial pages, save both the source and the edited output so the team can compare changes later. This makes approvals easier and helps future prompts reuse successful instructions. Grok Image 2.0 editing is strongest when it becomes a controlled revision process instead of a one-off generation.
Tips
- Ask for one edit at a time when precision matters.
- Describe what should remain unchanged: pose, layout, camera angle, lighting, logo, texture, or subject identity.
- Use direct verbs such as remove, replace, restyle, recolor, relight, or clean up.
- For text or logos, quote the exact wording and ask the model to preserve spelling and placement.
- If the result changes too much, shorten the prompt and add a stronger preserve clause.
Related guides
Continue with Grok Image 2.0
These pages are connected as one Grok Image 2.0 learning cluster. Use the main page for the core model overview, then move between the prompt, editing, and text rendering guides for deeper workflows.
Grok Image Prompts
Browse visual inspiration, copy a prompt, and customize portraits, product shots, anime, and illustrations.
Grok Image 2.0
Return to the main Grok Image 2.0 page for the full image model overview, features, examples, and creation workflow.
Grok Image 2.0 Prompting Guide
Learn how to structure text-to-image prompts, choose aspect ratios, direct the shot, and protect factual details.
Rendering accurate text with Grok Image 2.0
Prompt exact wording, typography, hierarchy, and layout for posters, labels, UI mockups, and readable text images.